Here's a field that I made recently; so I thought I'd write a few notes to explain how I go about making such a piece.

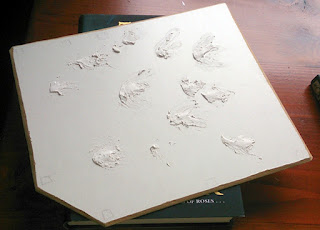
The base is simply a piece of 3mm MDF board (from the back of an old wardrobe I think?). It's approx 26cm x 21cm. I've pre-stressed the board to prevent warping - more on that in another post. I've also applied a few 'splodges' of all purpose filler just to give the ground a slightly more uneven appearance.
The next steps are (apologies for the lack of photos) -

I made some others quite a while back, have a look here.
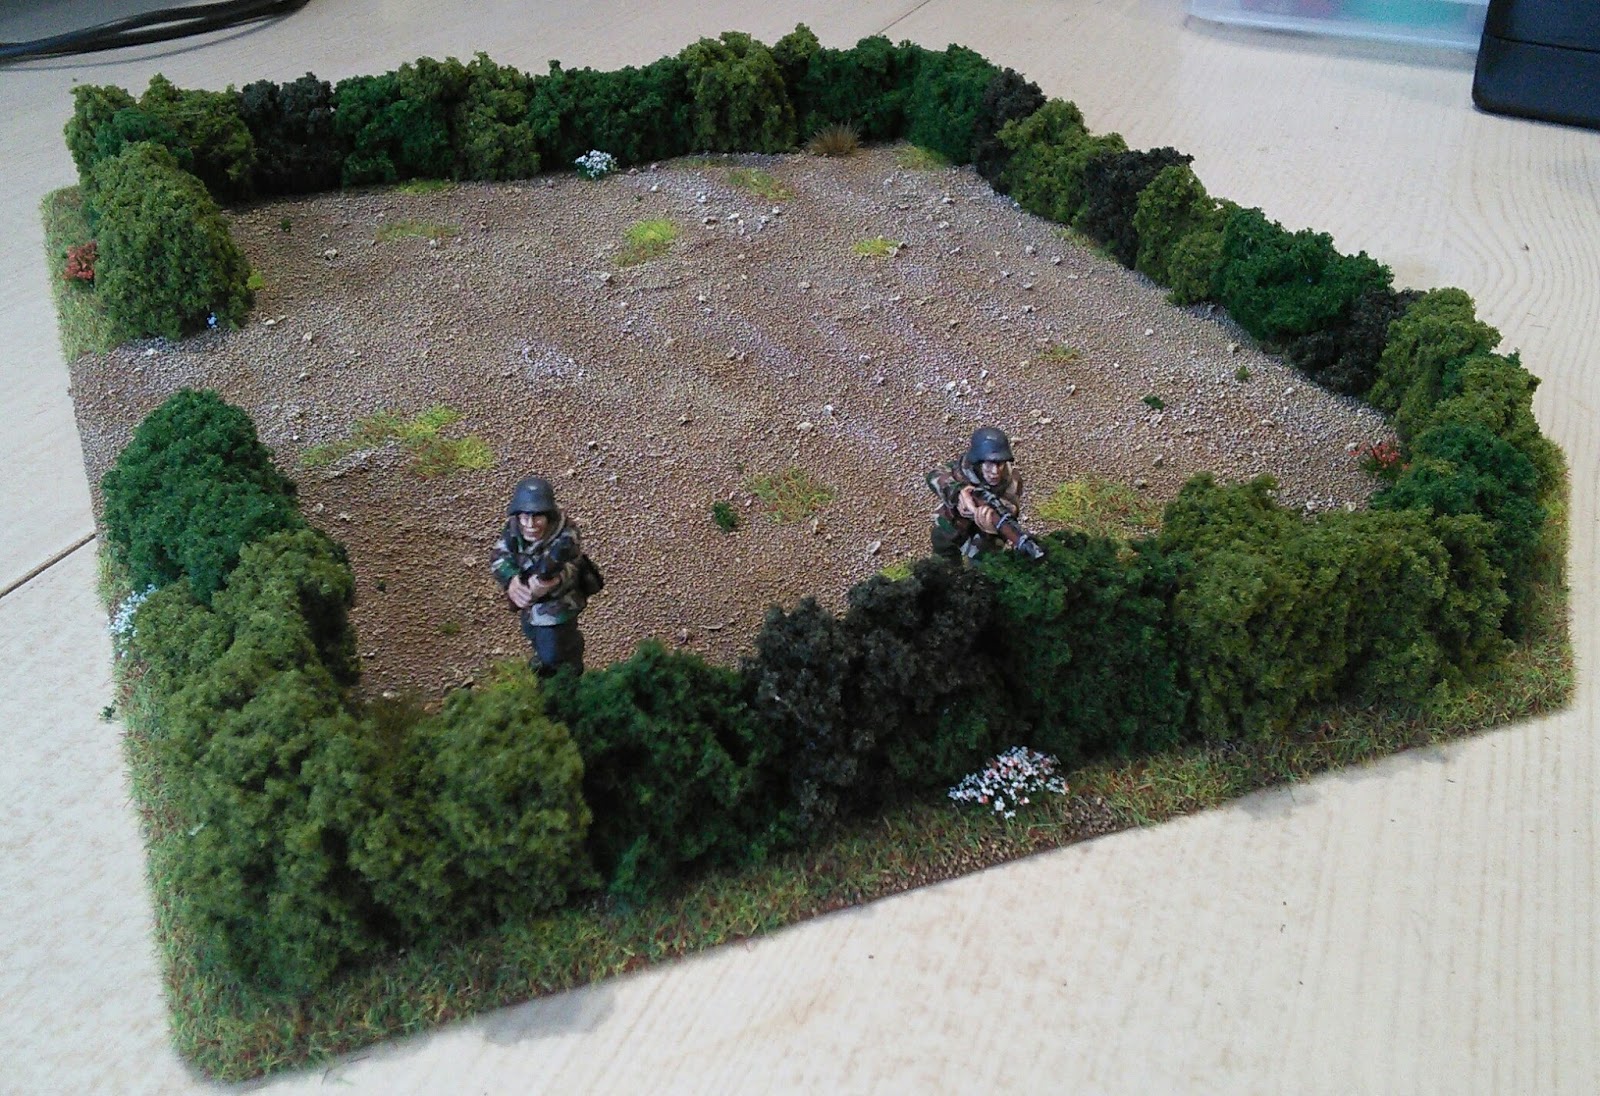
The hedges could be made more interesting by gluing in a few twigs to represent trees, may be a sign post or telegraph pole, etc?
Hope that's useful and/or interesting.
The base is simply a piece of 3mm MDF board (from the back of an old wardrobe I think?). It's approx 26cm x 21cm. I've pre-stressed the board to prevent warping - more on that in another post. I've also applied a few 'splodges' of all purpose filler just to give the ground a slightly more uneven appearance.

The next steps are (apologies for the lack of photos) -
- Apply a thin layer of watered PVA glue and sprinkle with coarse grit then sand. The more variety in texture the better.
- When fully dry, spray or undercoat in any mid brown that fits your scenery collection.
- Highlight with lighter browns and cream colours to complement your figures. I used a final highlight of white to give a slightly more dusty appearance.
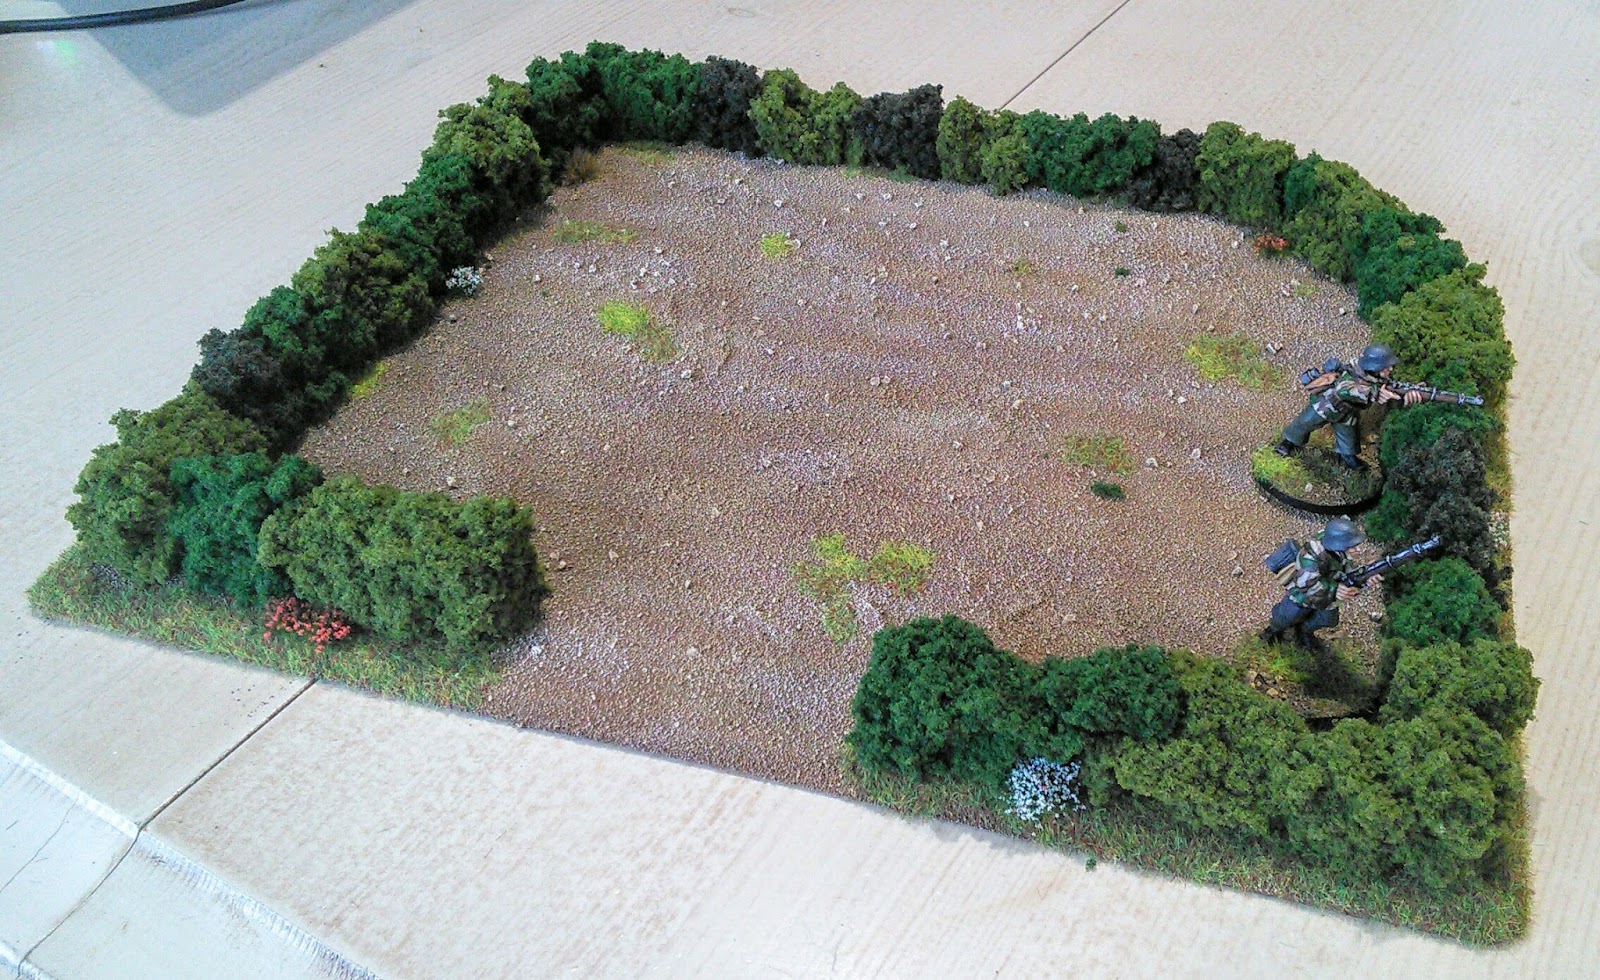
- Use PVA to glue flock/grass around the edges, plus add a few small clumps here and there over the field.
- The hedges are just made from pieces of clump foliage (Woodland Scenics) in three different colours. Tip - start by gluing large clumps then go back and add smaller pieces. This blends the colours better and also makes the hedge stronger. It's basically the same process as for the hedges I've made.
- The gap for the gate is wide enough for some gates I already have.
- Finally, add a few tufts of grass and flowers.
I made some others quite a while back, have a look here.
The hedges could be made more interesting by gluing in a few twigs to represent trees, may be a sign post or telegraph pole, etc?
Hope that's useful and/or interesting.
Comments
Post a Comment